

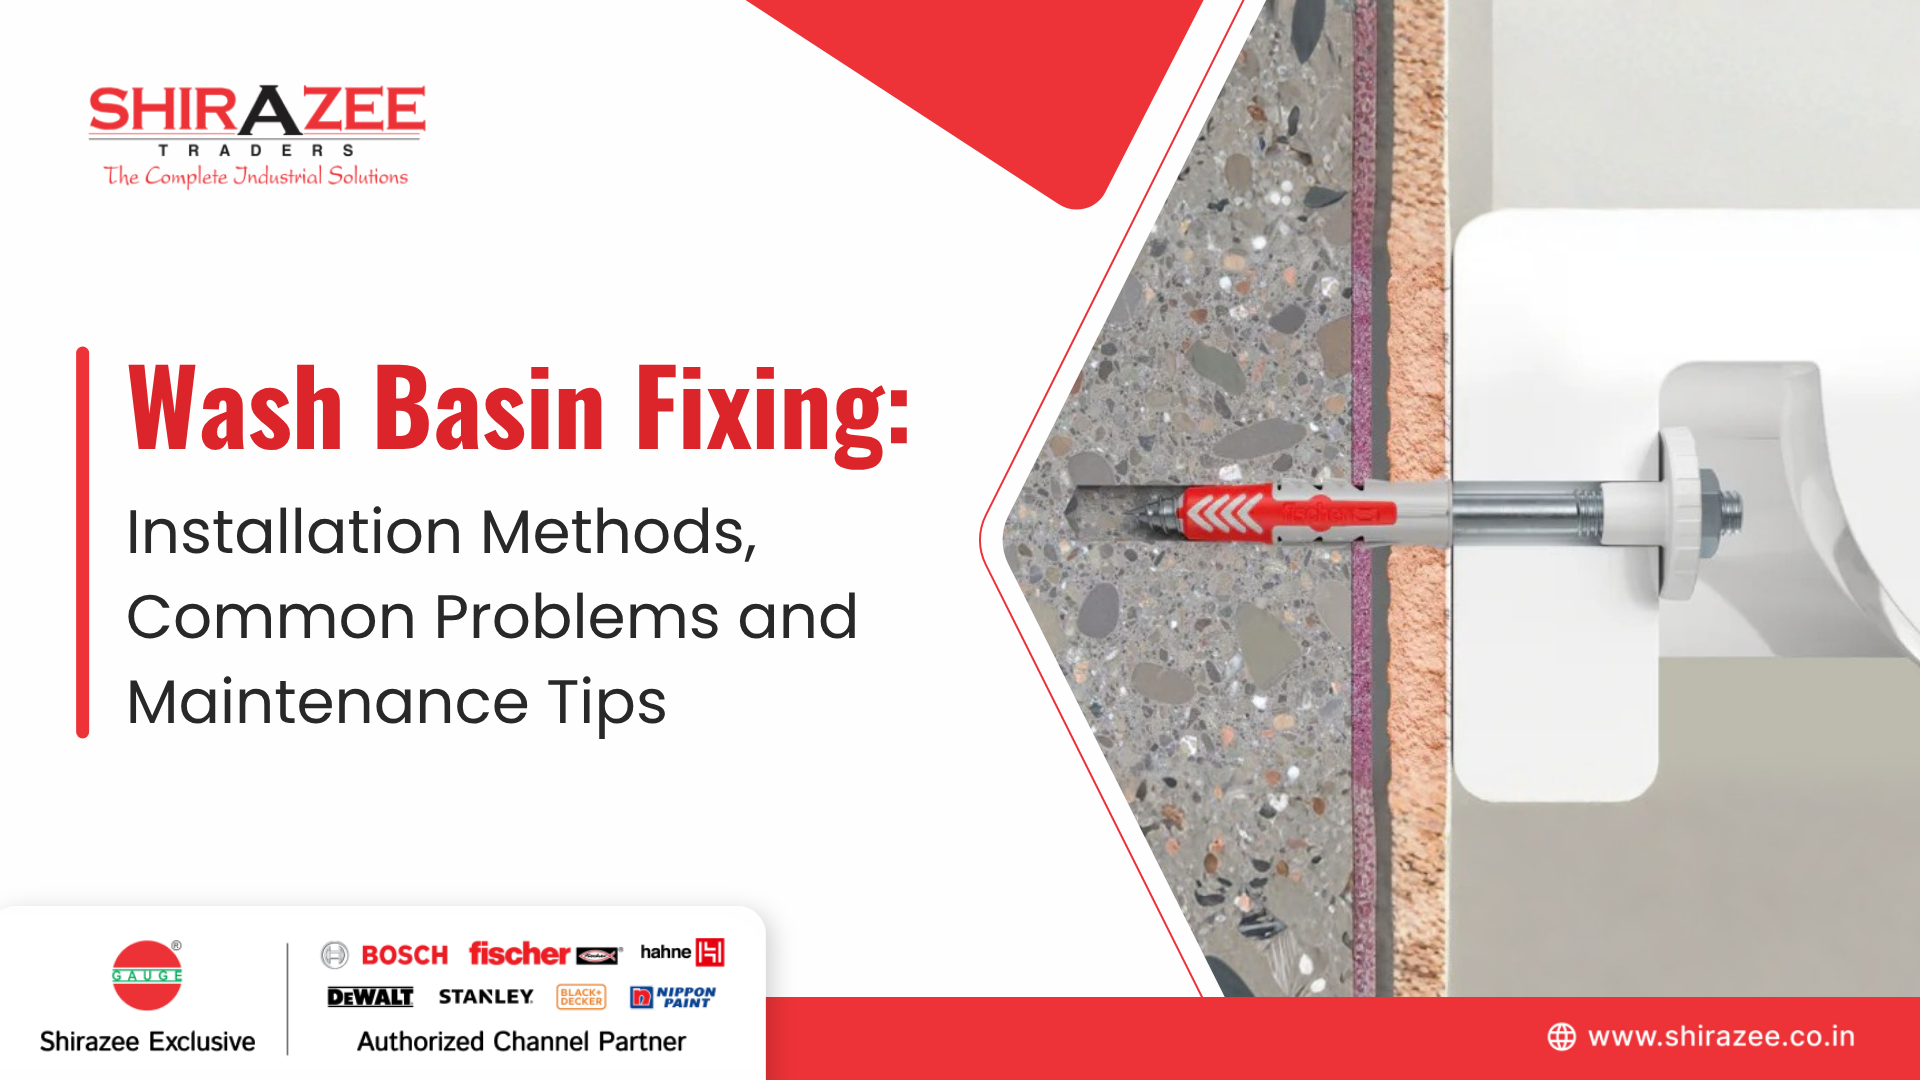
Wash Basin Fixing: Installation Methods, Common Problems and Maintenance Tips
Rohan signed off on the third floor of a Pune office fit out on a Friday. Ten days later, the facility manager called about a damp patch on the false ceiling below the staff washroom and a basin that rocked whenever someone rested a hand on it. Nothing had looked wrong on handover day. That is exactly why wash basin fixing is so easy to underestimate and so costly when it goes wrong.
The Basin That Passed Inspection and Failed in Ten Days
Rakesh, the site contractor, reached the washroom the next morning and needed less than an hour to find the trouble. The basin brackets sat in a hollow concrete block wall, held by ordinary plastic plugs that had already started to pull out. The waste coupling under the bowl was only hand tight, so a little water slipped past the washer every time the basin drained. Behind the bowl, the silicone bead had gaps and splash water was running quietly down the wall.
None of these faults looked serious alone. Together, they produced a stained ceiling tile, an unhappy tenant and a wash basin repair visit that nobody had budgeted for. Three small shortcuts created one big headache. To understand why, it helps to look at what fixing a basin actually involves.
Wash Basin Fixing Is More Than Screwing a Bowl to the Wall
In plain terms, wash basin fixing means three jobs done well together. You mount the bowl, so it carries load without moving. You connect the water supply and the waste line, so they stay tight. Finally, you seal the joints, so water stays where it belongs. If any one of these slips, the other two cannot save the installation.
The stakes have grown as wall hung and countertop basins become common in offices, hotels and apartments. These designs look clean, but they place more demand on the wall, the brackets and the anchors. A pedestal at least shares some of the weight. A wall hung basin relies entirely on what you drilled into.
Small leaks also add up faster than most people expect. According to the US Environmental Protection Agency, a tap dripping once per second can waste more than 3,000 gallons a year which is over 11,000 litres. The same agency estimates that household leaks can waste nearly 10,000 gallons a year. On a commercial floor with twenty basins, a few loose joints soon become a maintenance line item.
There is a quality reference to start from, too. In India, IS 2556 covers the sizes, dimensions, construction and finish of vitreous China wash basins and IS 775 covers cast iron brackets and supports for basins and sinks. For a procurement head, checking products against these standards is a sensible first filter before the basin even reaches site.
The Toolkit That Separates a Clean Job from a Callback
A good bathroom basin installation starts with the right wash basin installation tools, and most of them are simple. It helps to think of them in four groups,
- Marking and levelling: a spirit level, measuring tape and pencil.
- Drilling and fixing: a drill, masonry bits, the correct anchors and the brackets.
- Plumbing: a basin wrench, an adjustable spanner and PTFE tape for threaded joints.
- Sealing: a sanitary grade silicone sealant.
The anchor deserves the most thought and it is where Rohan’s job went wrong. Solid brick holds a standard expansion plug reasonably well. Hollow blocks need anchors designed for hollow masonry, such as injection anchors used with a mesh sleeve, which grip the inner walls of the block. Drywall partitions should never carry a basin on the board alone, so they need a support frame or carrier behind them. Knowing the wall first saves you from guessing later.
Wall Hung, Pedestal or Countertop and Which One Suits Your Space
Once the wall is understood, the next decision is the wash basin mounting style. Each type suits a different space and asks something different of the installer.
Wall Hung Basins
These free up floor space and make cleaning easy, which is why Rohan chose them for the compact staff washroom. The trade-off is that every kilogram of the basin, plus anyone leaning on it, pulls on the brackets and anchors. They work beautifully on a sound wall and fail quickly on a weak one.
Pedestal Basins
A pedestal shares the load and hides the pipework, so it remains a practical choice for homes and smaller offices. It does demand accurate alignment though, if the waste outlet in the wall sits off centre, the pedestal will not hide the trap, and the joints may end up under strain.
Countertop and Under Counter Basins
These suit client lounges, hotel washrooms and premium apartments. Rohan used countertop basins in the reception washroom for exactly that reason. Here, the precision of the counter cutout and the quality of the seal decide how long the installation lasts, because water that gets under the counter edge can damage the cabinet below without anyone noticing.
From a Pencil Mark on the Wall to the First Running Tap
When Rakesh redid the staff washroom, he followed the same sequence on every basin. The order matters because each step protects the one after it.
Mark the Height and Check the Wall
Start by marking the basin height and the bracket positions, then confirm what the wall is made of. For accessible commercial washrooms, the US ADA Standards set the rim at no more than 865 mm above the finished floor which many designers use as a reference. Rakesh tapped and test drilled before committing and that is how he confirmed the hollow blocks.
Drill, Anchor and Fix the Brackets
Drill to the depth the anchor needs, clean out the dust, and set the anchor that matches the wall. Fix the brackets and check them with the spirit level before the basin goes anywhere near them. A bracket that is a few millimetres out will tilt the bowl and leave water pooling at one edge.
Seat the Basin and Fit the Waste and Trap
Lower the basin onto the brackets and fit the waste with its washers in the right order. Tighten the coupling properly with a spanner because hand tight is exactly what failed on Rohan’s floor. Then connect the trap and align it with the wall outlet.
Connect the Supply Lines
Wrap the threaded joints with PTFE tape in the direction of the thread, then connect the tap and supply hoses. Be firm but careful near the ceramic since overtightening bolts against vitreous China can crack it.
Seal, Cure and Test
Run a continuous silicone bead where the basin meets the wall or counter and leave it to cure for the time the manufacturer’s datasheet states. Then fill the bowl, let it drain and check every joint with a dry tissue. A tissue that comes away dry is the simplest quality check you will ever do.
Where Wash Basin Fixing Usually Goes Wrong
Most failures that lead to basin leakage repair come from a short and familiar list.
- Wrong anchors for the wall, plugs meant for solid brick loosen quickly in hollow blocks.
- An uneven bowl, even a slight tilt sends water to one edge and stresses the seal.
- Loose couplings and worn washers, these leak slowly and slow leaks are the ones people find last.
- Overtightened bolts, ceramic cracks under point pressure, sometimes days after fitting.
- Patchy sealant, small gaps behind the basin channel splash water into the wall.
Notice that none of these involves a faulty basin. Each is a fixing decision, which also means each one is avoidable.
Simple Habits That Keep Leaks and Cracks Away
A careful install only stays good if someone looks after it. These habits cost very little time,
- Look under the basin once a month, a damp trap or a mineral stain is an early warning.
- Reseal when the silicone discolours or lifts, old sealant stops sealing long before it falls away.
- Keep weight off wall hung basins, they carry a bowl of water, not a person sitting on the edge.
- Clear slow drains early, backed up water puts pressure on every joint below the bowl.
- Dry damp spots quickly, the EPA advises drying water damaged areas within 24 to 48 hours to prevent mould, and the cabinet under a countertop basin is a common hiding place.
When the Job Needs a Trained Hand
Some basins are a straightforward weekend job. Others call for bathroom plumbing services from a trained installer. Bring one in when the wall is hollow, old or unknown, when the basin is heavy stone or a large designer piece, when concealed pipes need moving, or when the same basin keeps leaking after you have tried to fix it. On commercial projects with dozens of units, a consistent method across every washroom matters more than speed on any single one.
Rohan learned this the expensive way. The ten minutes saved during the original wash basin installation cost him a rework visit, a ceiling tile and some of a client’s confidence. Was it worth it? He would tell you no.
A Basin That Stays Put Keeps the Whole Bathroom Dry
A wash basin seems like one of the simplest fixtures in a building, yet it brings together load, water and sealing in a very small space. Choose the right mounting for the room, match the anchor to the wall, tighten what needs tightening and check the seal before you walk away. Do that and the basin becomes the fixture nobody ever has to think about again.
If you are planning a fit out and are unsure which anchors, fixings or sealants suit your walls and basin types, talk to us before the drilling starts. A short conversation at that stage is far cheaper than a callback.
Quick Answers on Wash Basin Fixing
How long does wash basin installation take?
There is no single answer, because the time depends on the mounting type and the condition of the wall. Swapping an old basin for a similar one on a sound wall is usually the quickest job. A new wall hung or countertop basin takes longer, since it involves marking, drilling, anchoring, levelling and plumbing from scratch. Hollow walls, concealed pipe changes or a stone basin add more time again. Whatever the job, plan for the sealant to cure for the period its datasheet states before the basin goes into regular use, and leave room for a proper fill and drain test.
What causes leakage around a wash basin?
Most leaks trace back to the fixing rather than the basin itself. The usual culprits are a waste coupling that was only hand tightened, washers that are worn or seated in the wrong order and supply joints without enough PTFE tape. Leaks around the rim usually come from gaps in the silicone bead or from a basin that is not level, which lets water sit against the joint instead of draining away. If you spot a damp patch, dry the area and check each joint with a tissue to find the exact source before you start any wash basin repair.
How do I maintain a newly installed wash basin?
Good maintenance is mostly about catching small problems early. Check under the basin once a month for damp, drips or mineral stains. Clean the bowl with gentle, non-abrasive products so the glaze stays intact and keep harsh chemicals away from the silicone. Reseal the joint when the sealant discolours, cracks or lifts and clear slow drains before water backs up. With a wall hung basin, discourage anyone from leaning or sitting on it. These small checks take minutes, and they keep a sound installation sound for years.