Installing anchors can be tricky, but when you use a resin capsule, you’re stepping up your game with one of the most reliable construction methods. Think of it as glue on steroids—resin capsules create a strong bond that can handle heavy loads, harsh environments, and even corrosive conditions.
If you’ve ever wondered how to install resin capsules properly, you’re at the right place. You’ll rapidly become proficient with the proper equipment, patience, and this detailed guide.
Are you prepared to jump right in? Let’s dissect it!
What Are Resin Capsule Anchors?
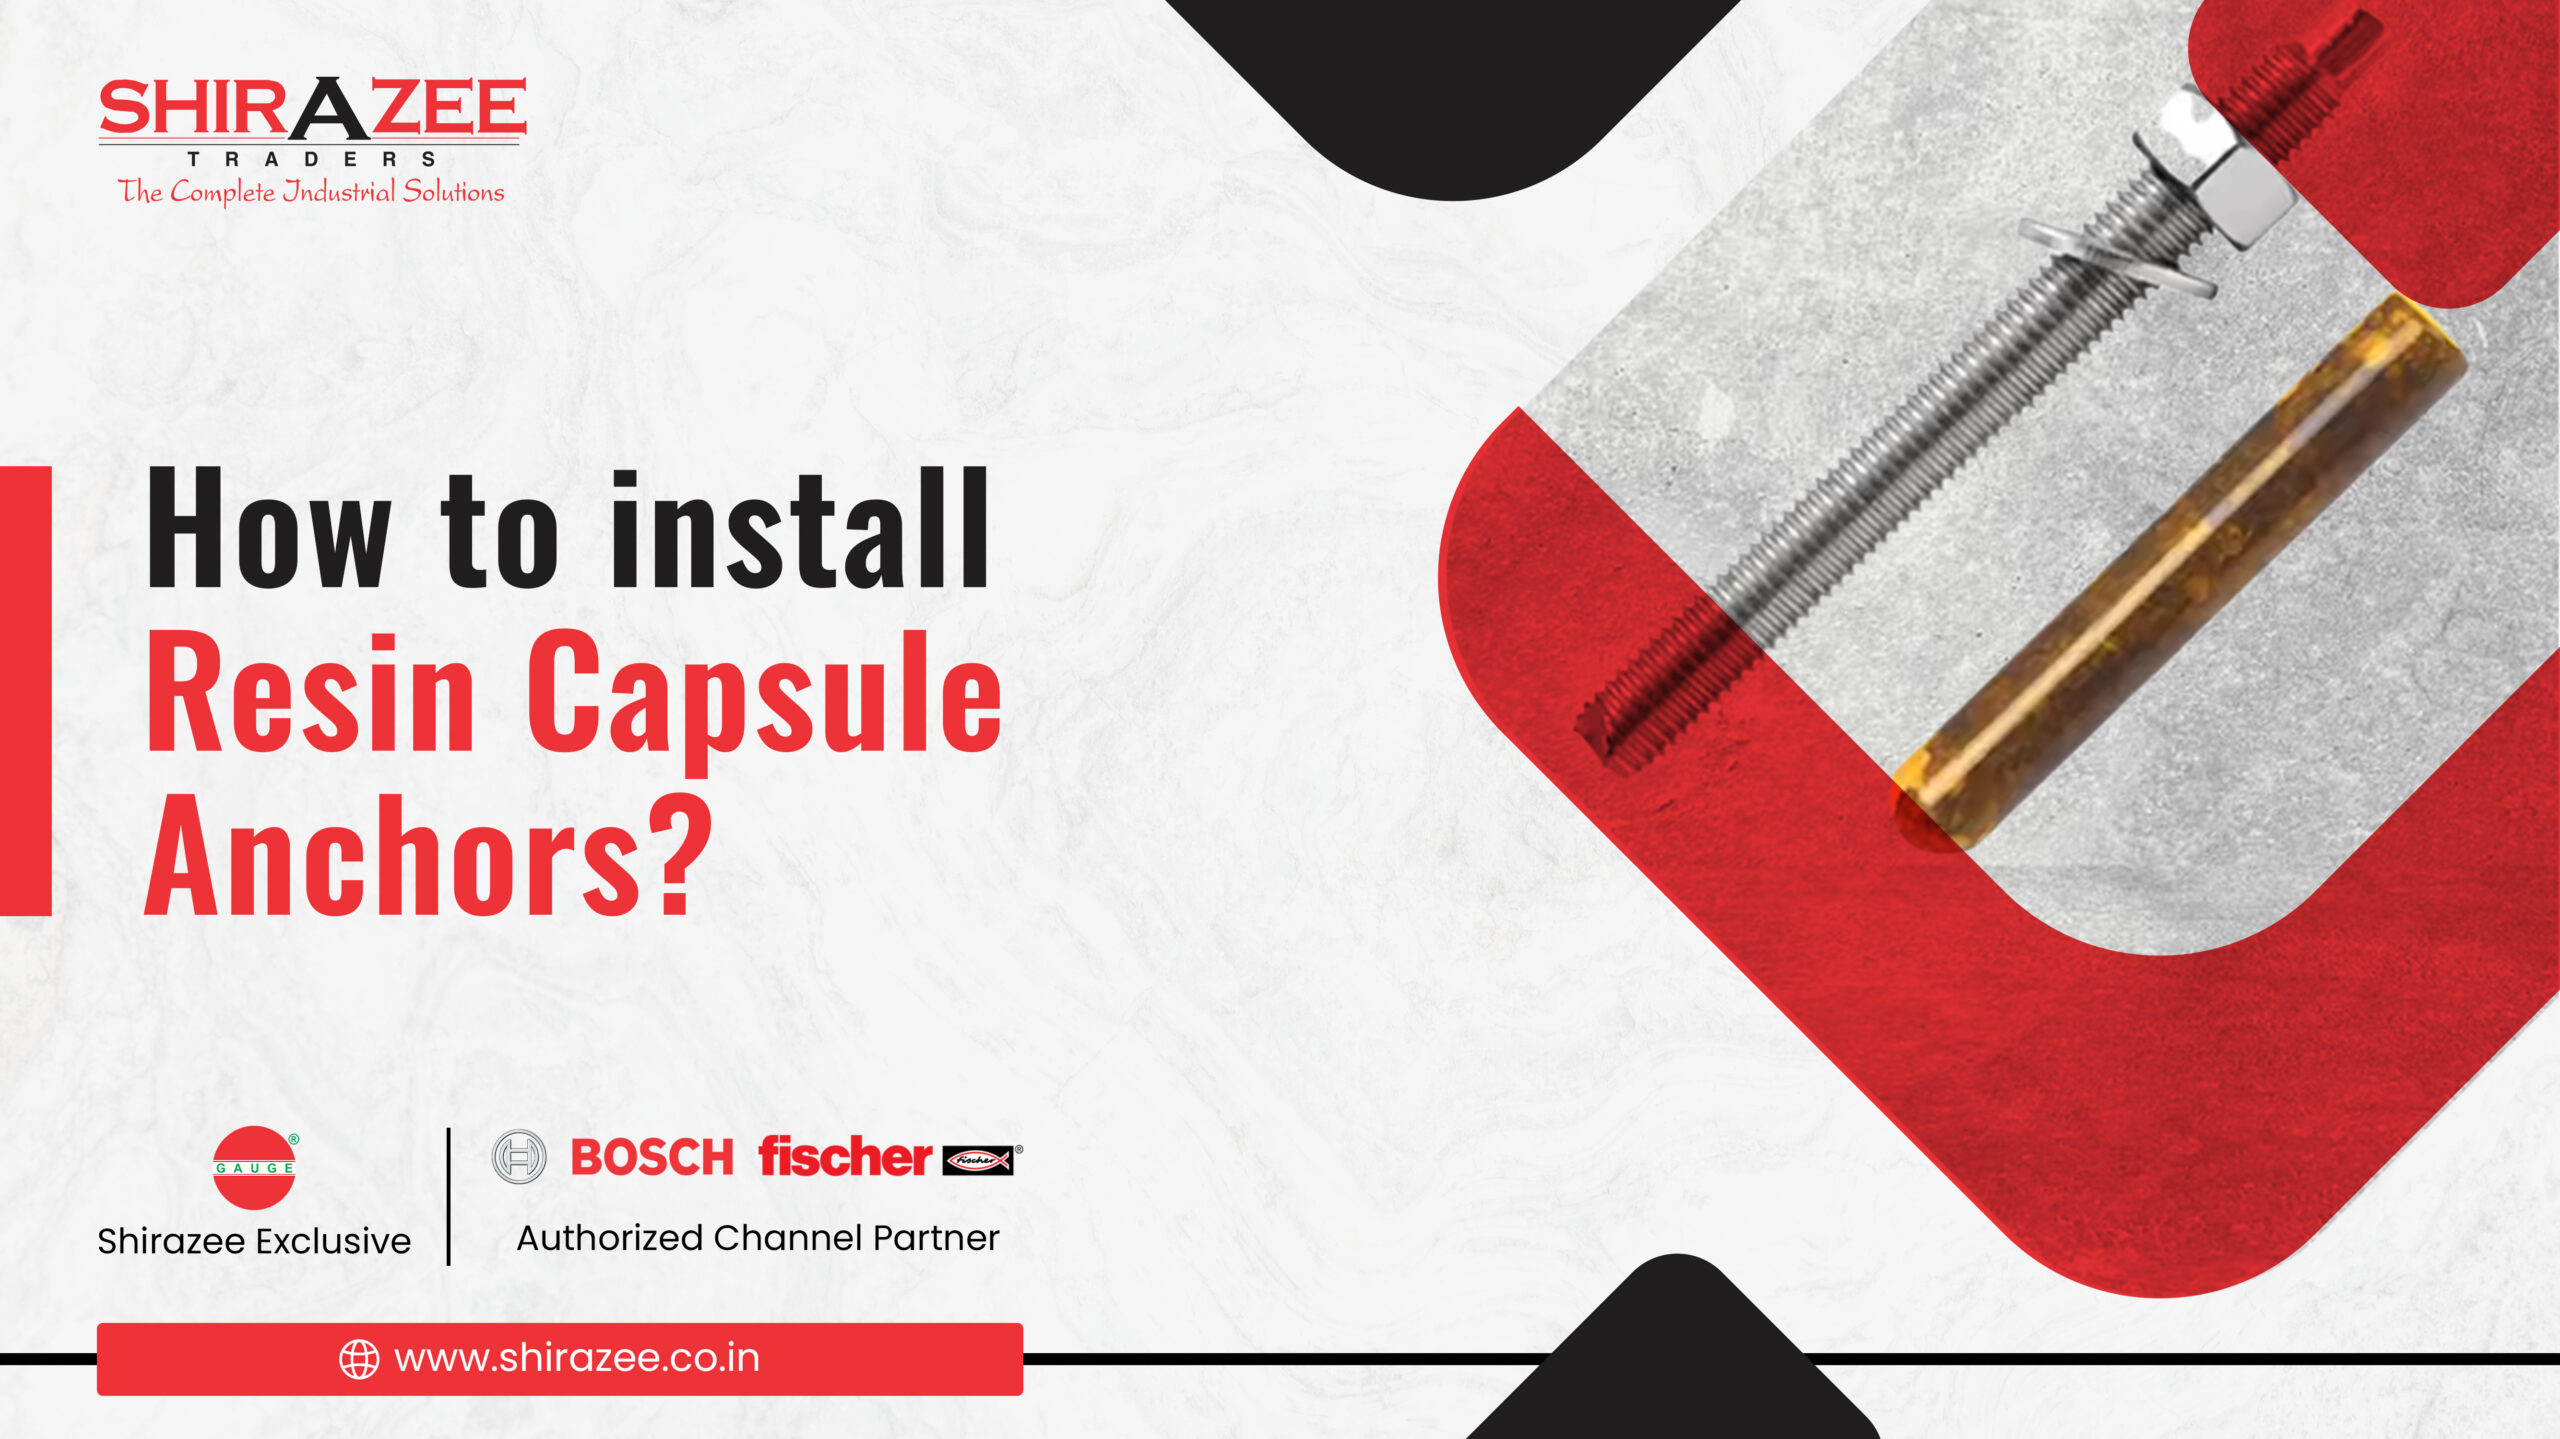
Let’s start by reviewing the fundamentals. A resin capsule is a pre-packaged solution that includes resin and a hardener. Together, these two elements create a solid connection. Imagine it as glue on steroids, except it is much more dependable.
In construction, these capsules are frequently employed to anchor large objects like scaffolding, machinery, and structural beams. They are helpful in situations where standard anchors might not hold up, such as in corrosive or high-stress settings. In essence, they are anchoring systems’ superheroes.
What makes them so well-liked? To begin with, they provide:
- Exceptional strength to support loads.
- Resistance to deterioration from the environment (hello, rust!).
- A lifelong relationship that you can genuinely trust.
The Equipment and Supplies You’ll Need
Installing a resin capsule requires having the right tools and materials. You wouldn’t get very far if you tried to bake a cake without the proper materials and equipment. Here’s what you’ll need to install resin capsules like a pro:
1. Drill Machine
A reliable drill machine is your best friend for creating the perfect hole. Make sure it’s compatible with the material you’re working on—whether it’s concrete, brick, or stone. The size and depth of the drilled hole should match the specifications of the resin capsule for it to work effectively.
2. Blower or Cleaning Brush
This might seem like a small step, but trust me, it’s huge. A blower or a stiff cleaning brush will help you remove all that stubborn dust and debris from the drilled hole. A clean hole is non-negotiable when you want the resin capsule to bond perfectly. Dusty holes? Big no-no.
3. Hammer
A hammer is essential for inserting the anchor bolt into the drilled hole. When the bolt hits the capsule, it breaks it open, allowing the resin and hardener to mix. This step requires just the right amount of force, so don’t overdo it—use steady taps to ensure proper mixing.
4. Torque Wrench
Once the resin has cured, you’ll need a torque wrench to tighten the anchor bolt to the specified torque level. This will ensure the anchor is safe and capable of supporting the desired weight. Purchase a torque wrench since a standard wrench might not offer the required accuracy.
5. Resin Capsule and Anchor Bolt
Which one to choose: the resin capsule or anchor bolt? Choose the right size and type for your specific application. Because they come in various lengths and diameters, make sure the capsules meet the anchor bolt and the load requirements of your project.
Step-By-Step Installation Process
Step 1: Drill the Perfect Hole
Choose the drill bit size that corresponds to the anchor’s dimensions. Gently drill to ensure the hole depth is ideal. Is it too deep or too shallow? That is not acceptable.
Step 2: Clean That Hole
Use a blower or cleaning brush to get rid of any dust and debris after drilling. Take note of this step! The hole needs to be clean in order for the resin to adhere correctly. Think about it like painting: A dirty wall wouldn’t be painted, would it?
Step 3: Place the Resin Capsule
Take the resin capsule and carefully position it inside the hole. Place it as deep as needed, making sure it’s unbroken.
Step 4: Insert the Anchor Fastener
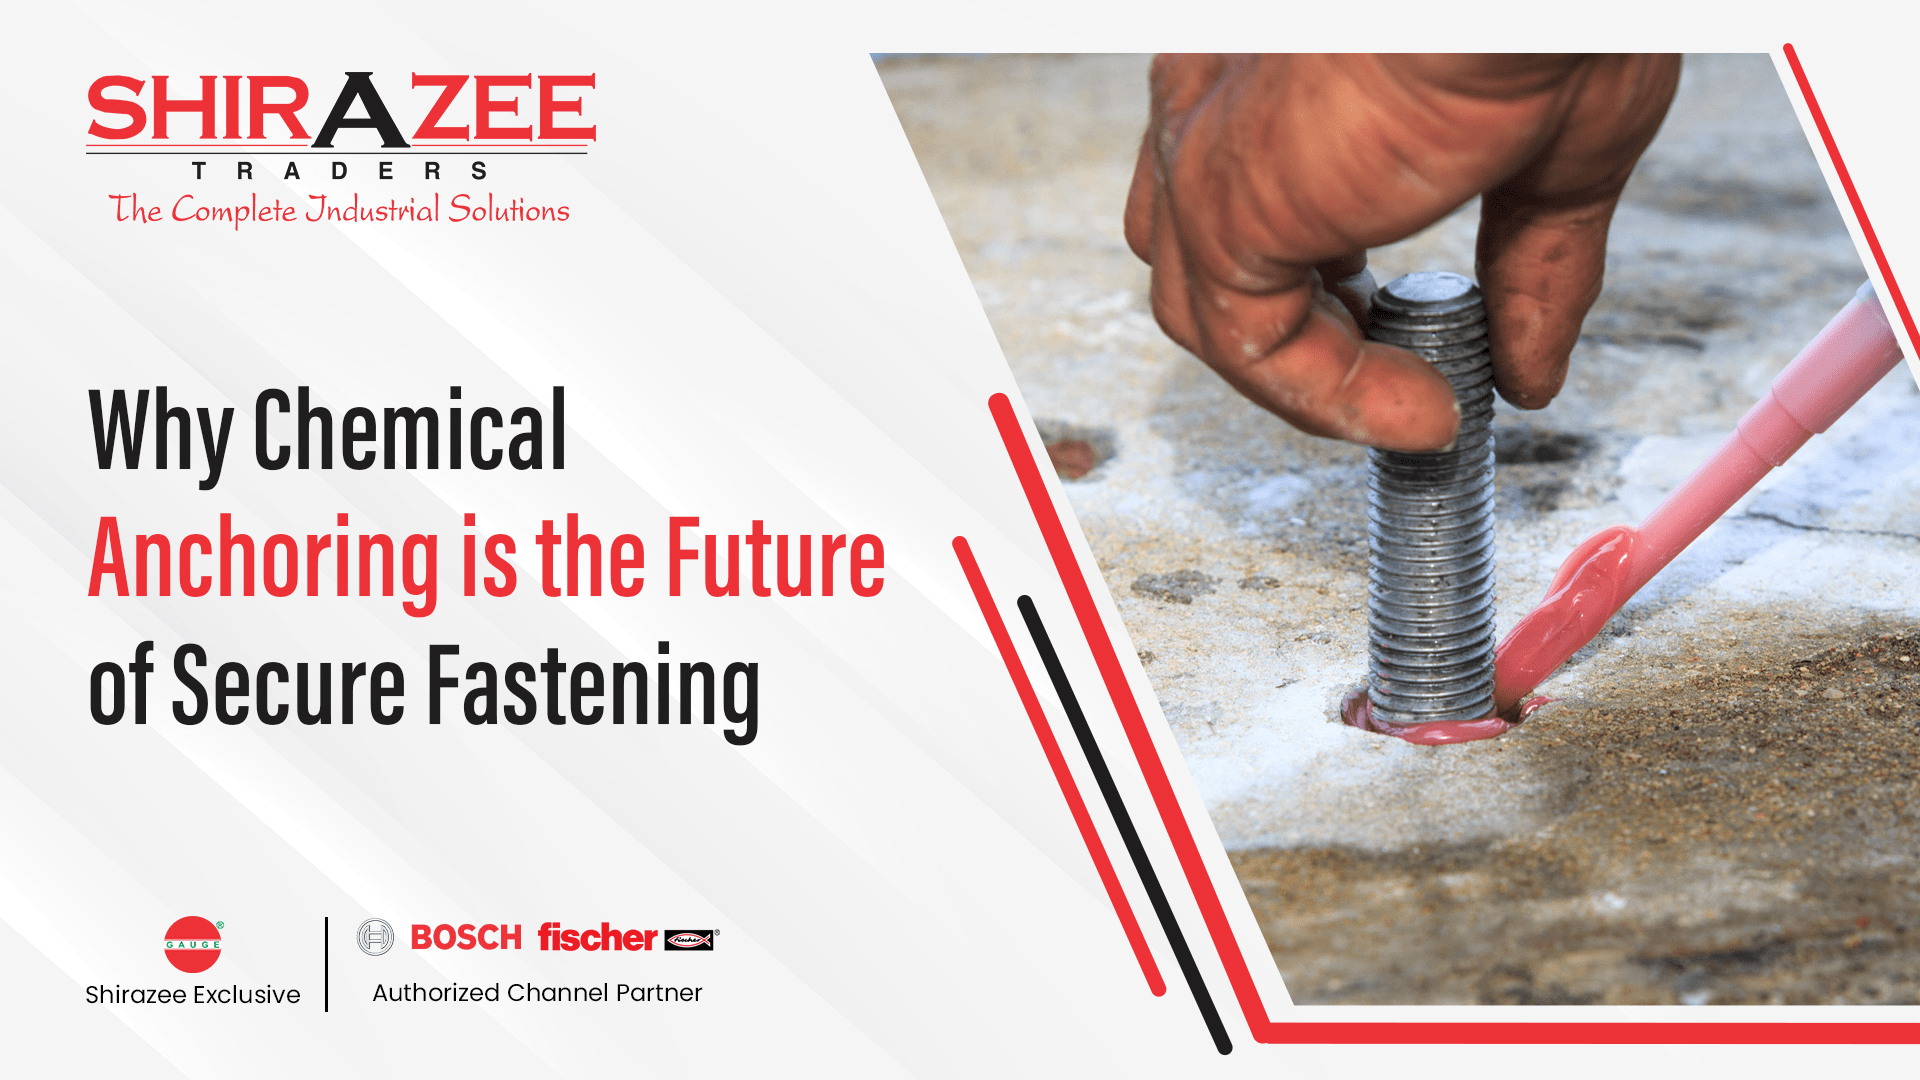
The anchor bolt should now be carefully hammered into the hole. As it enters, it will shatter the resin capsule, mixing the resin with the hardener. The magic happens right here! A very strong chemical link is formed by the mixture, which will keep everything in place.
Step 5: Let the Resin Cure
Patience is key here. Give the resin enough time to cure completely. Check the product instructions for the curing time—it can vary depending on the resin type and the temperature. Avoid disturbing the bolt during this stage.
Step 6: Tighten the Bolt
Grab your torque wrench once the resin is fully cured, and tighten the anchor bolt to the recommended torque specification. Double-check the stability, and voilà—you’re done!
Common Mistakes to Avoid
1. Drilling Improper Hole Sizes
One of the most common errors is drilling a hole that is either too large or too shallow. The resin capsule won’t fit in a hole that is too small, and the resin won’t bind correctly if the hole is too big. Always adhere to the manufacturer’s instructions when it comes to the proper hole measurements.
2. Skipping the Cleaning Step
You’d be surprised how often people skip this step. Dust and debris can interfere with the resin’s ability to bond to the surface. Cleaning the hole thoroughly is non-negotiable—think of it setting the stage for the resin to do its job.
3. Rushing the Curing Process
Patience is key. Some people can’t resist testing the anchor before the resin has fully cured, which can weaken the bond and compromise the anchor’s strength. Always stick to the recommended curing time—it’s worth the wait.
4. Using the Wrong Resin Capsule or Bolt
Not all resin capsules and bolts are created equal. Weak anchors or even failure under stress might result from using inferior or mismatched materials. Always get products from a reliable seller, such as Shirazee Traders, and make sure you’re utilizing the appropriate ones for the job.
5. Over-Tightening the Bolt
While tightening the anchor bolt is essential, overdoing it can cause damage to the cured resin and weaken the bond. Use a torque wrench to apply just the right amount of force.
Maintenance Tips for Resin Capsule Anchors
1. Periodic Inspections
Check your anchors regularly to ensure they are still secure and operating as intended. Look for any loosening or movement that could indicate an issue. By identifying problems early, you can avoid more serious problems later.
2. Watch for Corrosion
If your anchor is exposed to severe weather or corrosive conditions, check it for rust or degradation. Corrosion may weaken the anchor’s structural integrity, so if you see any damage, act quickly.
3. Re-Tighten When Necessary
Over time, vibrations or heavy loads can cause bolts to loosen slightly. If this happens, use a torque wrench to re-tighten the bolt to its original specifications. Avoid over-tightening, as this can damage the resin bond.
4. Replace Damaged Anchors
If an anchor shows significant wear or damage, don’t hesitate to replace it. Continuing to rely on a compromised anchor is a safety risk. Removing and re-installing a fresh resin capsule anchor is always better than risking failure.
5. Clean Surrounding Areas
Keep the area around the anchor clean and free from debris, which can sometimes cause issues during inspection or maintenance. A clean workspace makes it easier to spot problems early.
Summing Up!
Installing a resin capsule anchor doesn’t have to be complicated. With the right tools, patience, and this guide, you’ve got everything you need to do it right the first time.
Proper installation means you can count on the anchor’s strength for years to come—you won’t have to worry about things coming loose or breaking down.
At Shirazee Traders, we stock only the best resin capsule anchors to make your projects successful.


